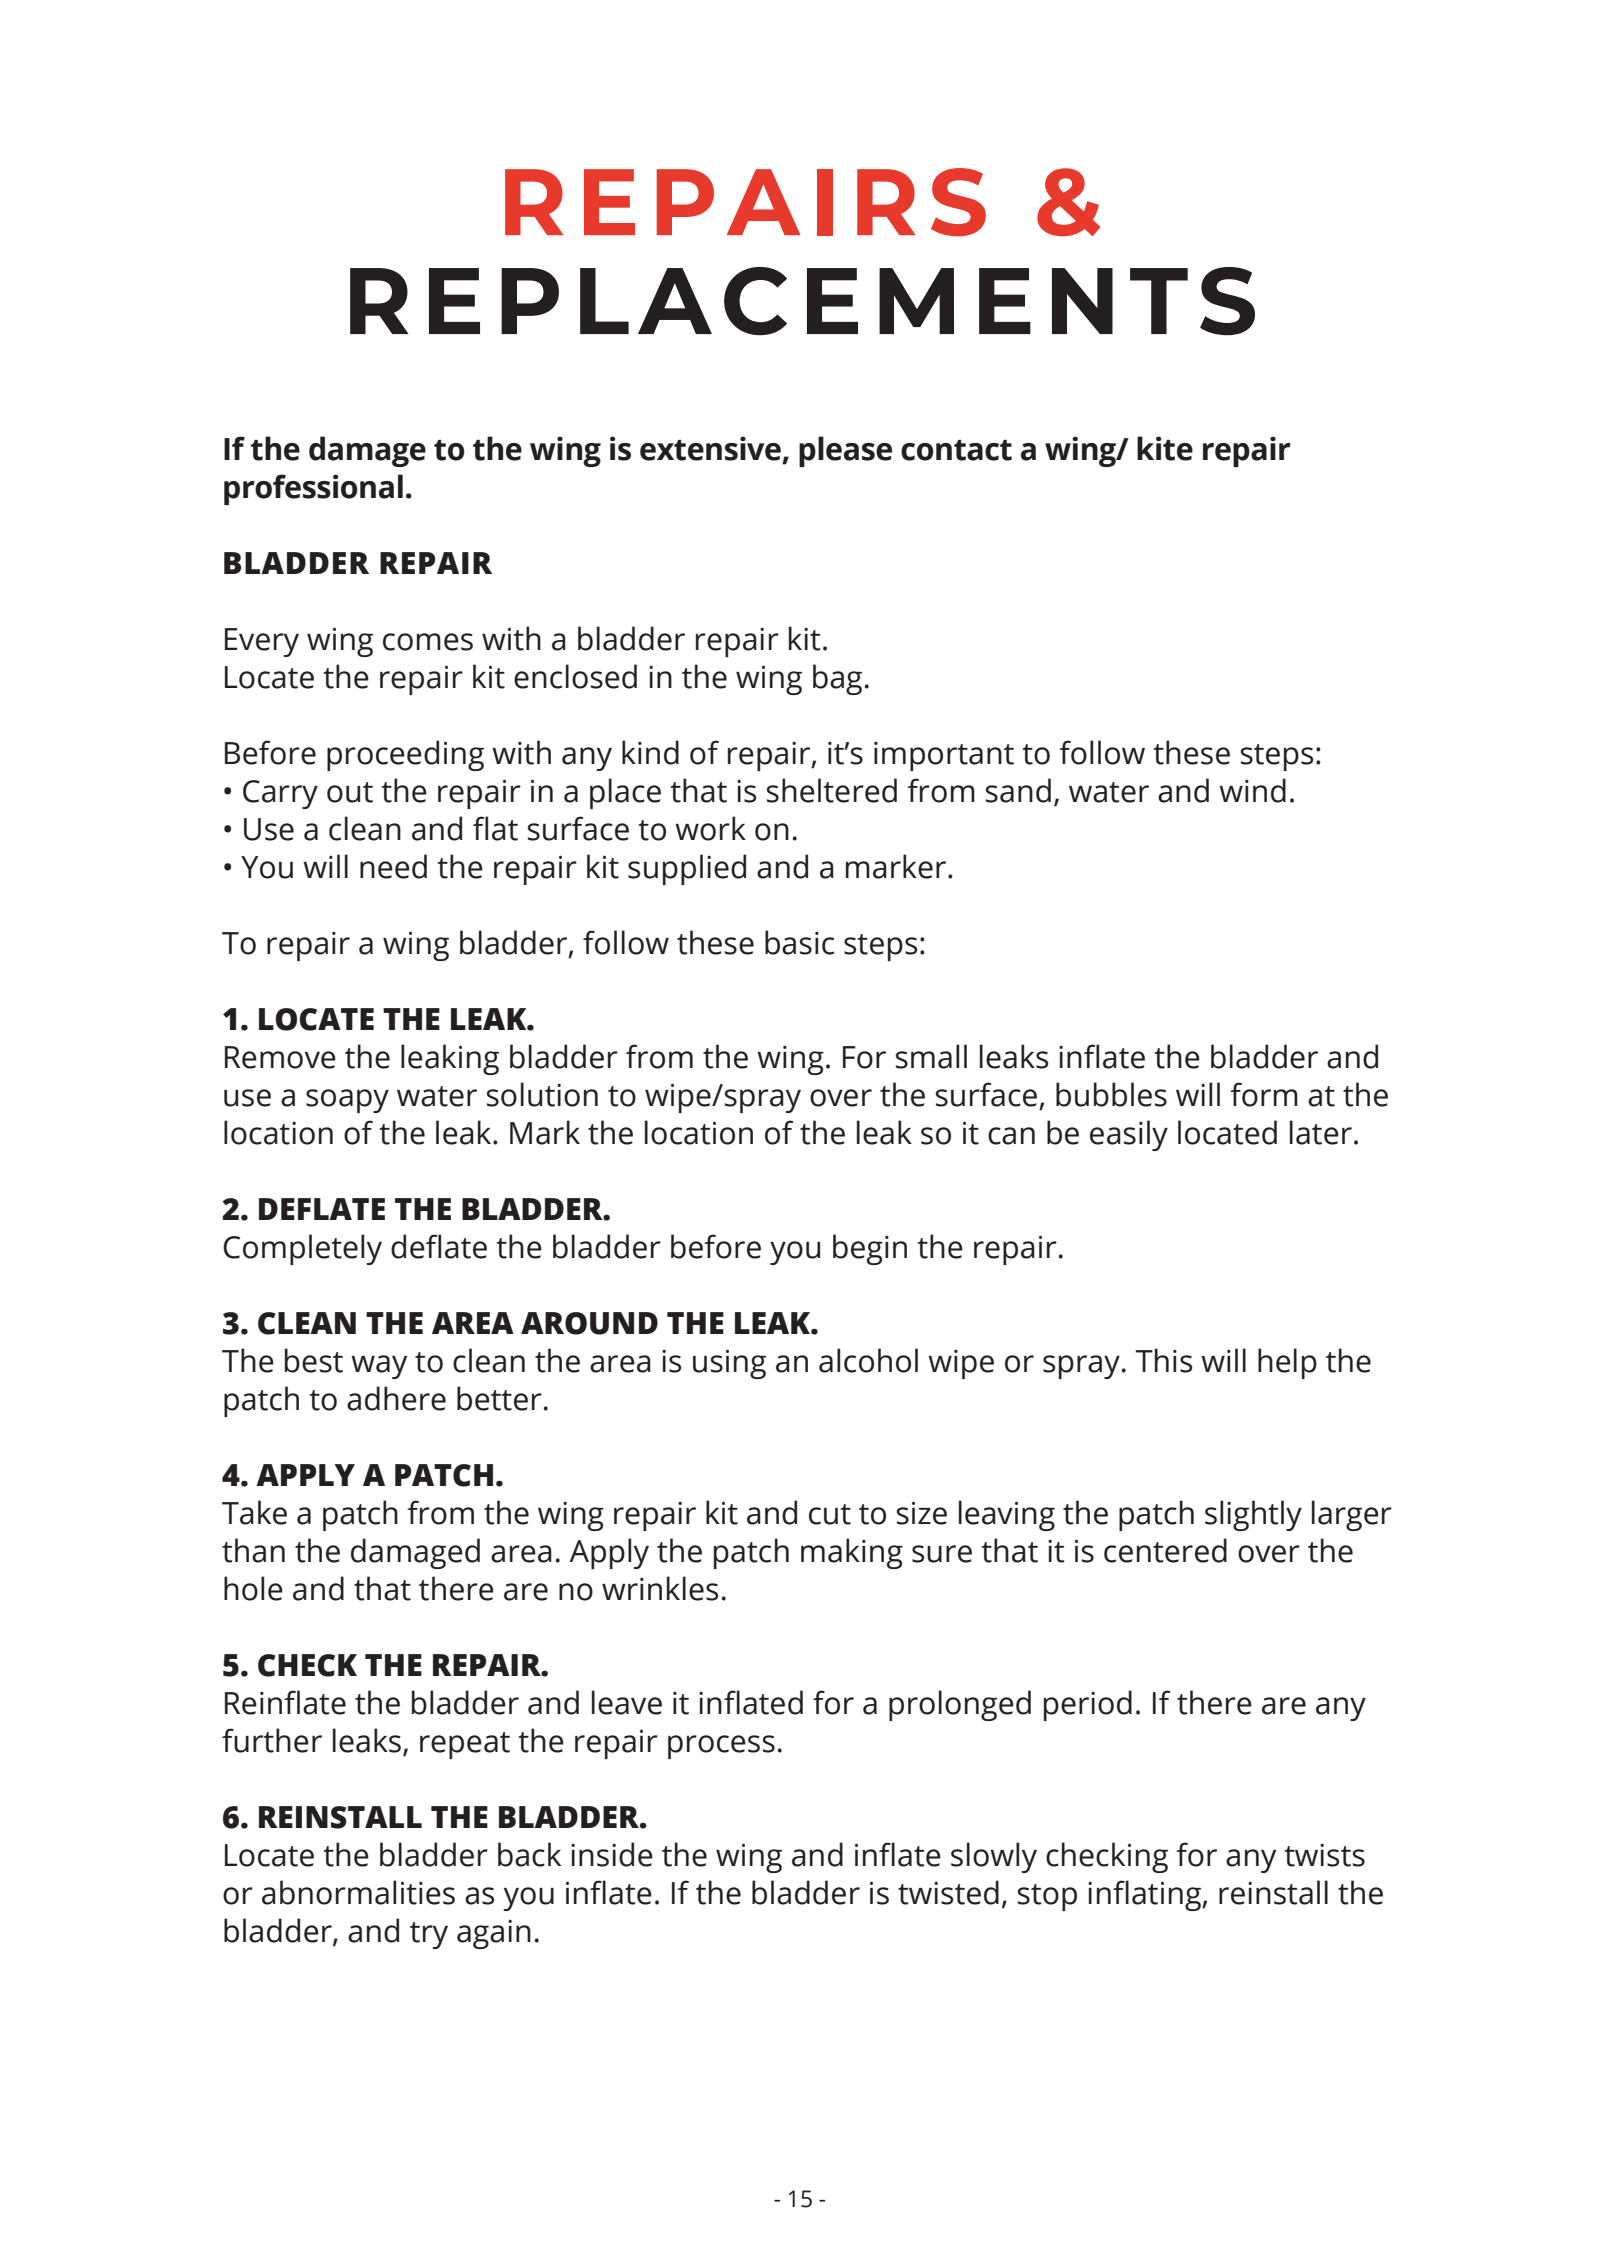
1 / 2 · The basic steps of bladder repair

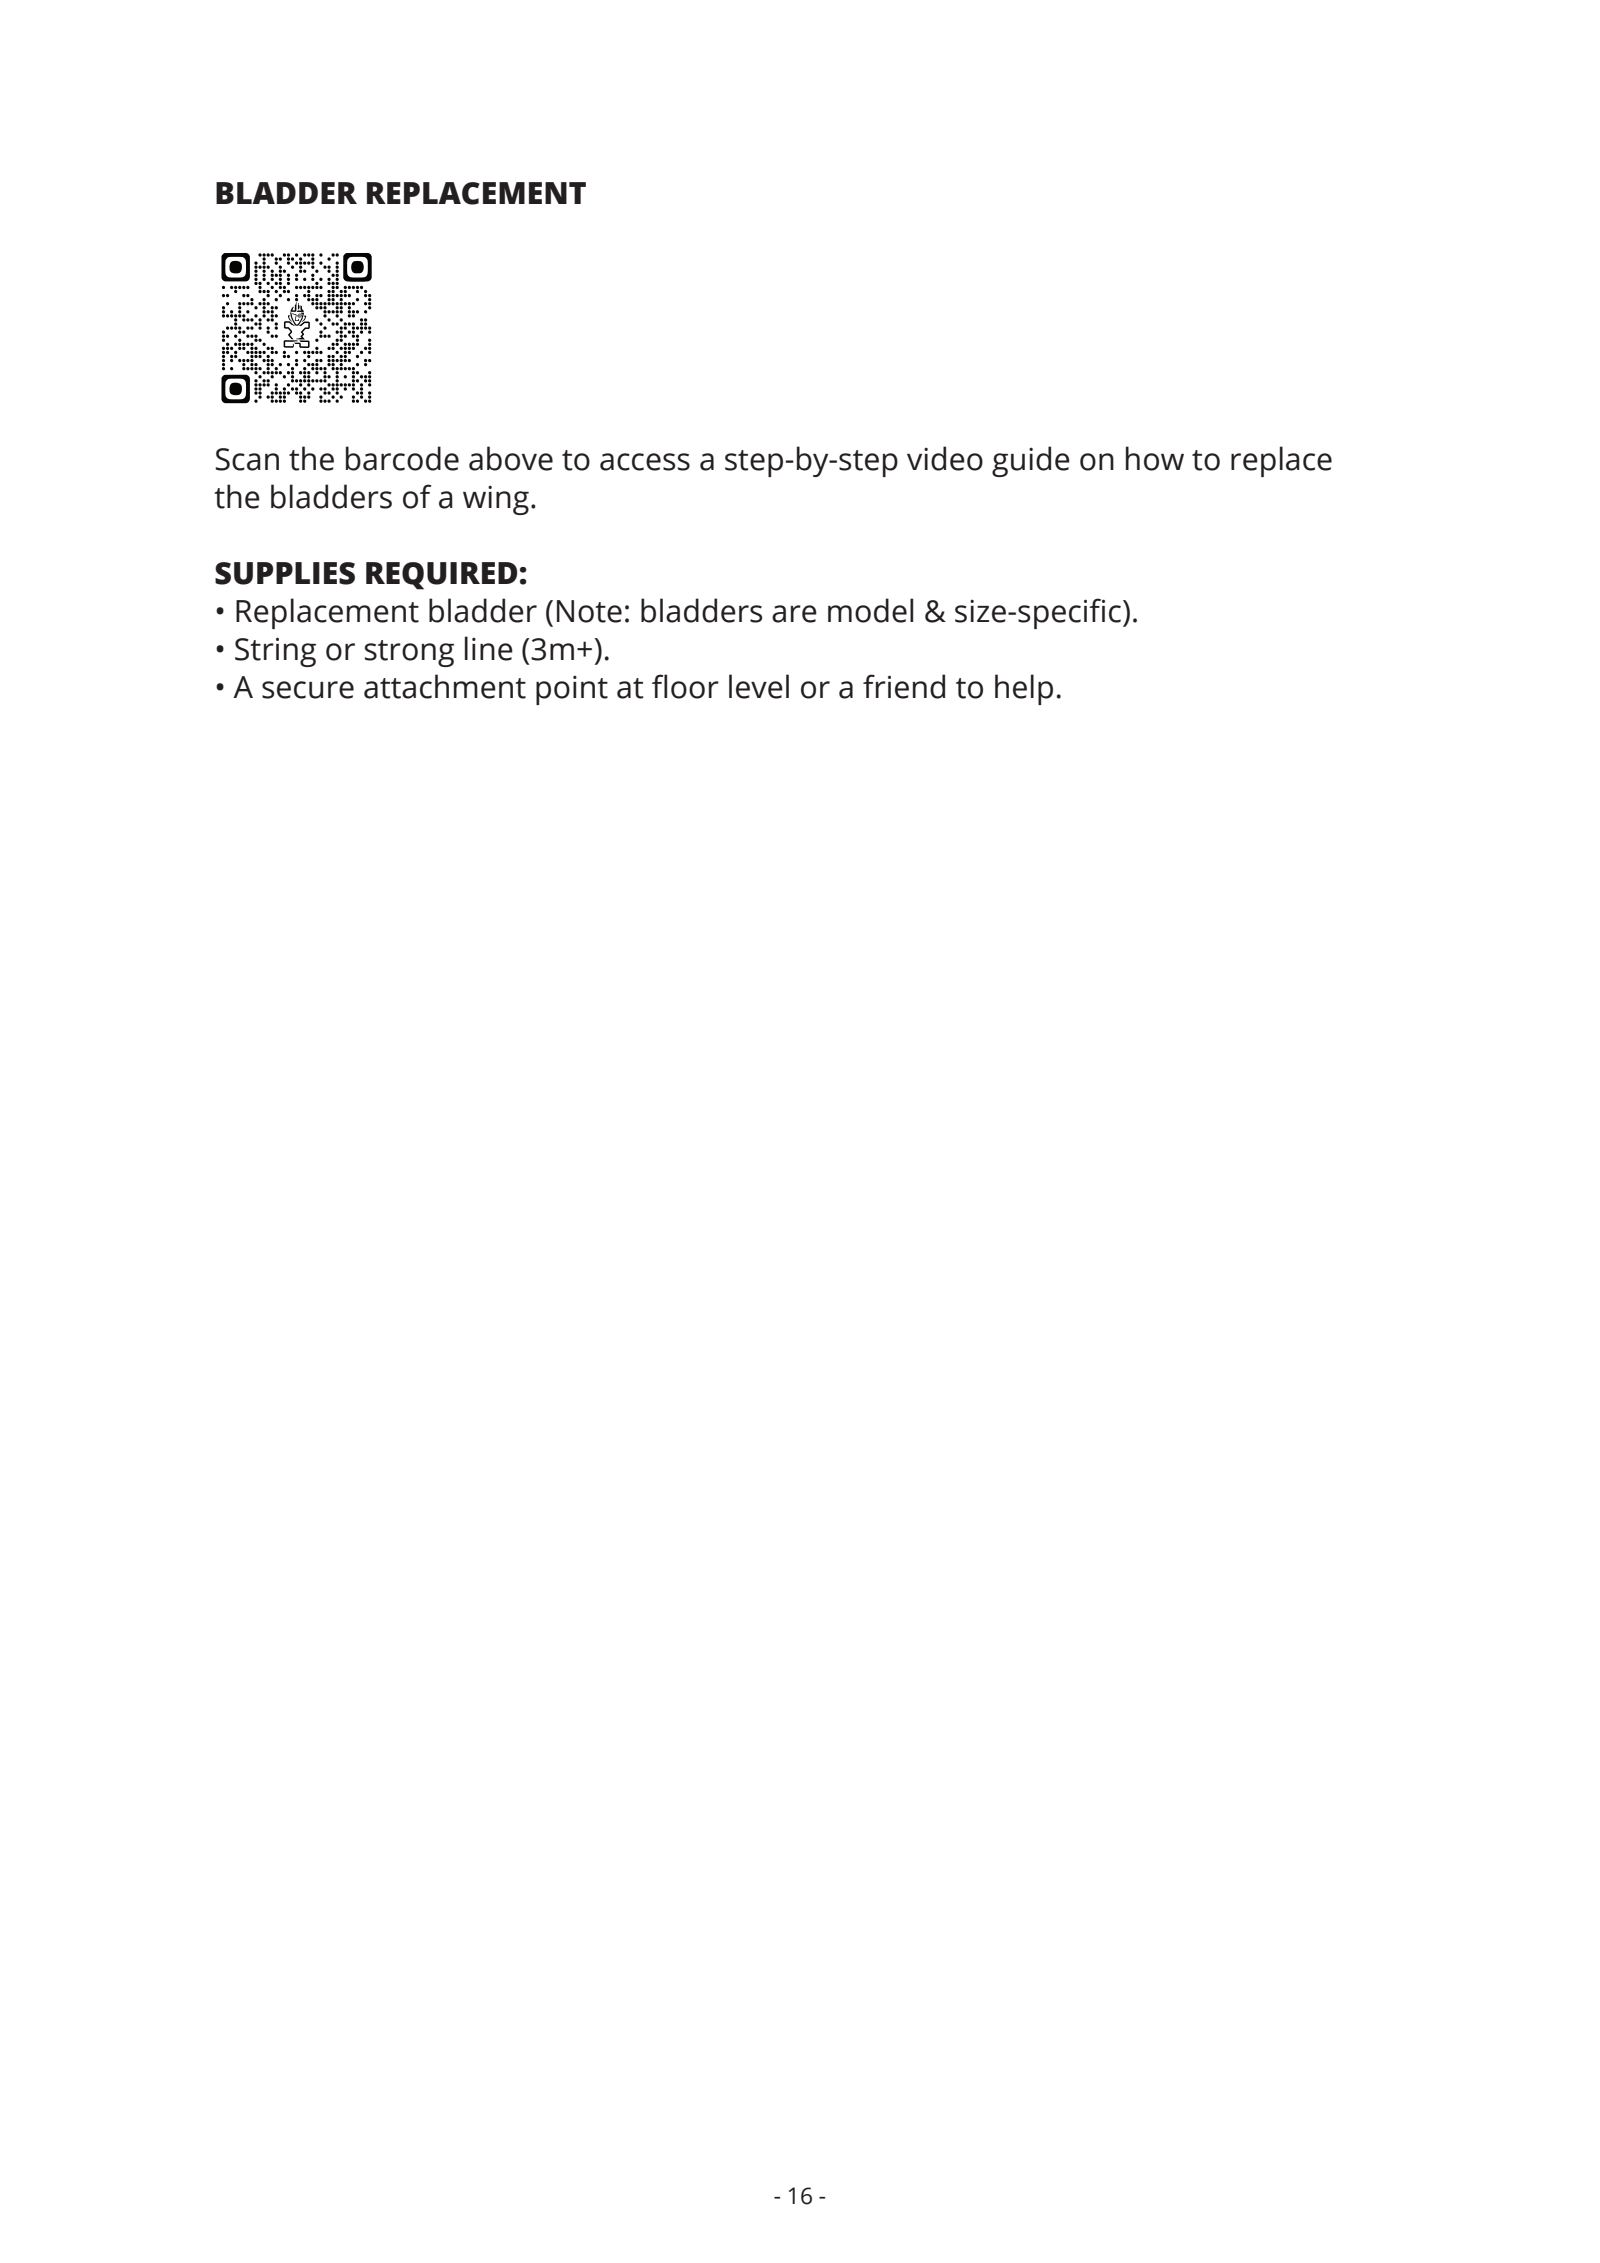
2 / 2 · Bladder replacement and what you need

Removing and refitting a bladder should be done with an understanding of how the product is built. If the damage is major or you're not used to this kind of work, ask a repair specialist first.
Does your wing keep going soft after you've pumped it up? If so, stop riding and calmly check its condition. Knowing the repair process makes it much easier to explain the problem with your gear and get the help you need.
01. Check the condition first, then get the help you need
Check the wing for tears, deformation and anything unusual around the valves. If the damage is major or the cause of the air loss isn't clear, stop using it and contact the place you bought it or a wing/kite repair specialist. Don't assume the repair is done just because it holds air again.
When you get in touch, it helps to have the model name, model year, wing size and photos of the damaged area ready. Also jot down briefly whether it's the leading edge or the strut that goes soft, and when the problem started.
02. How bladder repair works, step by step
The bladder is the bag inside the wing that holds the air. Repair goes find the leak → let the air out → clean the area → apply a patch → recheck for leaks → refit. The picture above helps you understand this whole flow.
How you take the bladder out and put it back in must match the product's construction. If it's your first time, talk to your service contact first. For the repair kit contents, which cleaner and patch to use and how long to wait after gluing, check the instructions for your product and repair materials. When you work, avoid sand, water and wind, and set up on a clean, flat surface.
03. Re-inflating needs checking too
After applying the patch, check again whether it still leaks. Even if it looks well stuck from the outside, you need to finish the check. Follow your product's repair instructions for how long to check and the inflation conditions.
After putting the bladder back in, inflate slowly while checking for twists or odd shapes. If you see a twist, stop inflating immediately. If refitting is difficult or the leaks keep coming back, stop and have it inspected.
04. For replacement parts, check the model and size together
When a bladder needs replacing, first check that the part matches your model name and wing size. Don't use a different bladder just because it looks similar. It's best to send your model details and photos to the place you bought it to confirm a compatible part.
The replacement instructions list things you'll need, such as a strong cord and an anchor point, or a friend to help. Check the removal, connection and refitting order for your wing, and decide whether to do it yourself or leave it to a specialist. Once it's been checked, take another look at its condition before your next ride.
- Prepare the model name, year, size and photos of the damage
- Check the product-specific instructions for the kit, cleaner and patch
- Ask for a professional check for major damage, repeated leaks or refitting problems
Sources and scope
The illustrations are Starboard's original bladder repair and replacement pages from the Wing User Guide, pp. 15–16; the explanation is Starboard Korea's commentary. For kit contents, cleaner and patch application and refitting, follow your model's manual and your repair contact's instructions first. The paragraphs on checking damage, preparing to get in touch and stopping work are Starboard Korea's editorial commentary.
The illustration is Starboard's original artwork; the explanation is Starboard Korea's editorial guide, translated into English here. Sources checked: 2026-09-08.